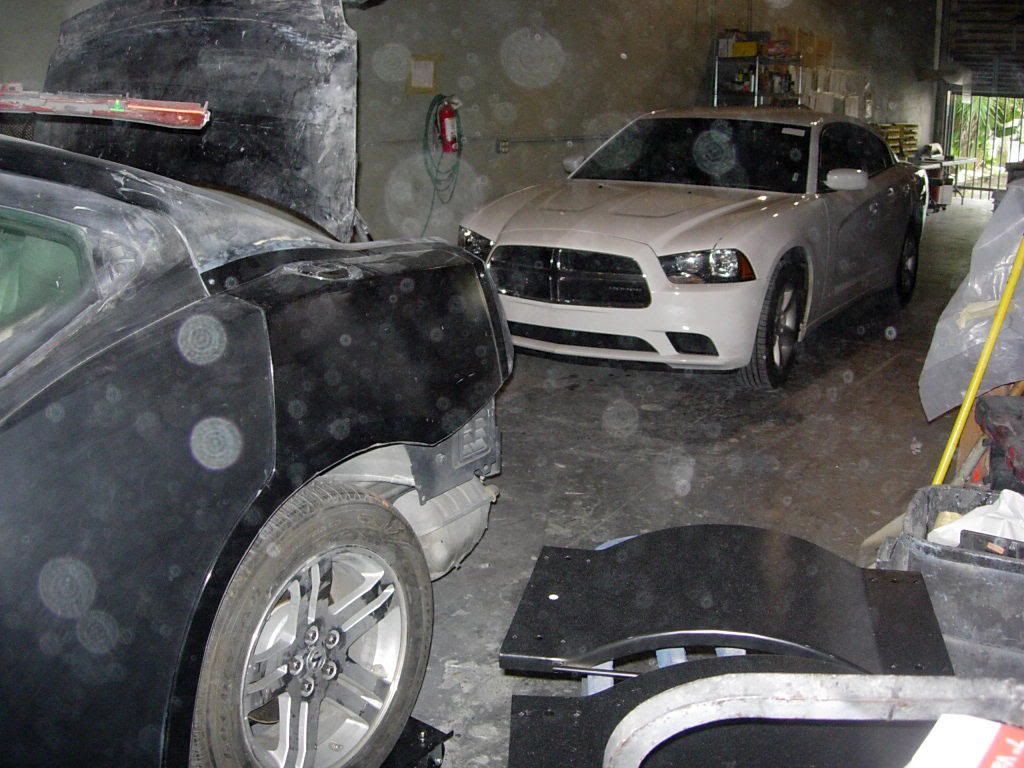
Now that I officially have another dedicated spot in my shop here in Miami, I'm gonna start making some really cool
custom Danko nose parts for the 2011 Dodge Charger
Since I've got to disassemble the nose, I thought a lot of forum members out there would like to see exactly how to remove the Front fascia and headlight so here we go ~
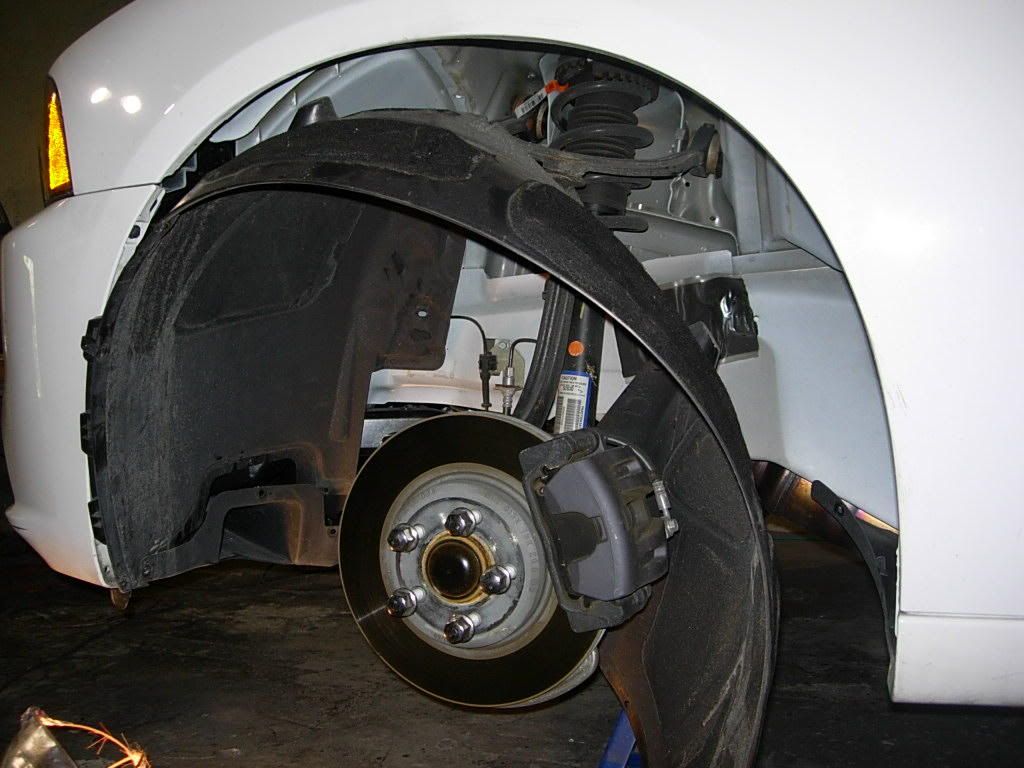
1) Jack up car and place on jack stands and remove both front wheels.
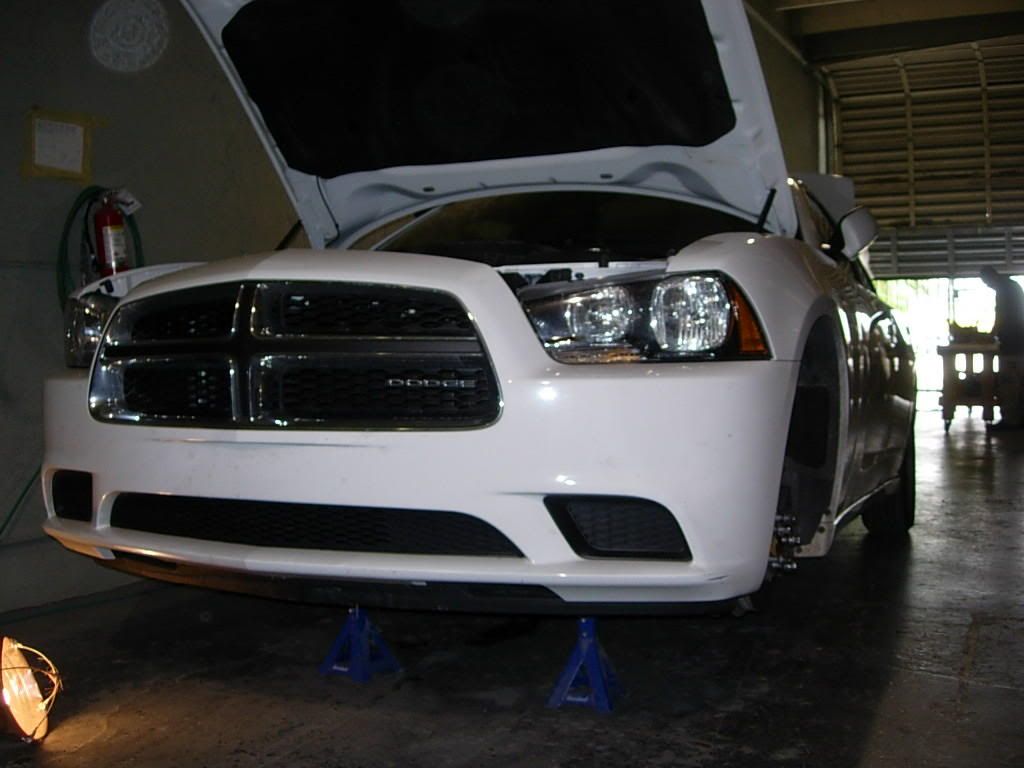
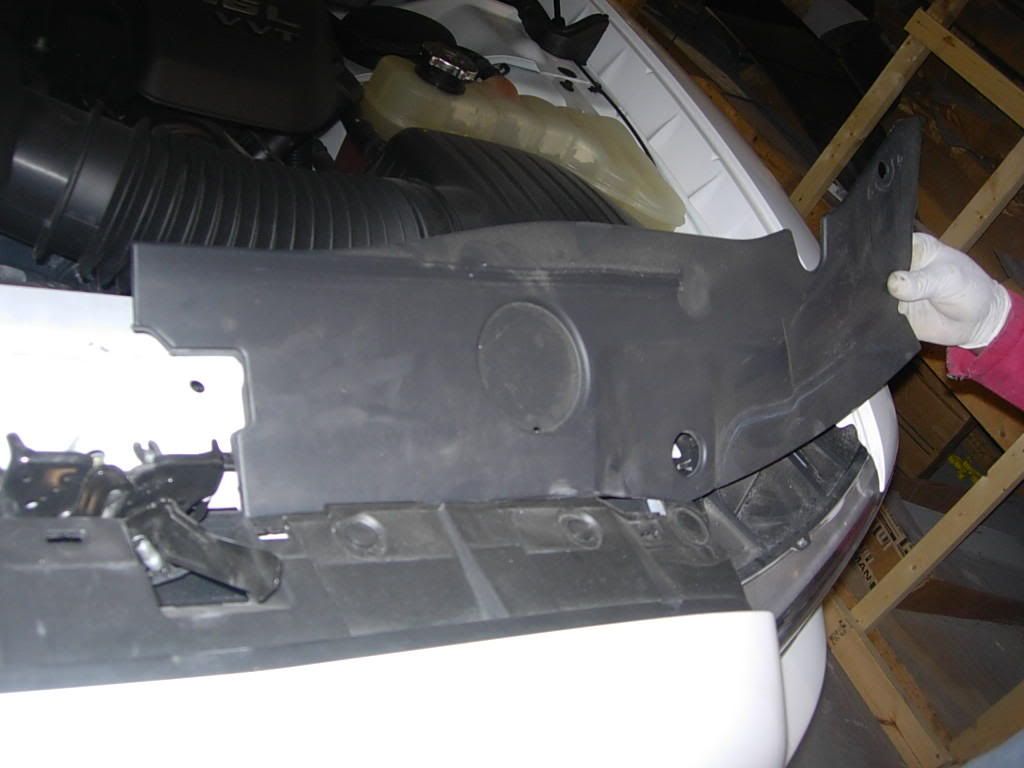
2) Raise hood and pop off both plastic covers by gently pulling them upwards.
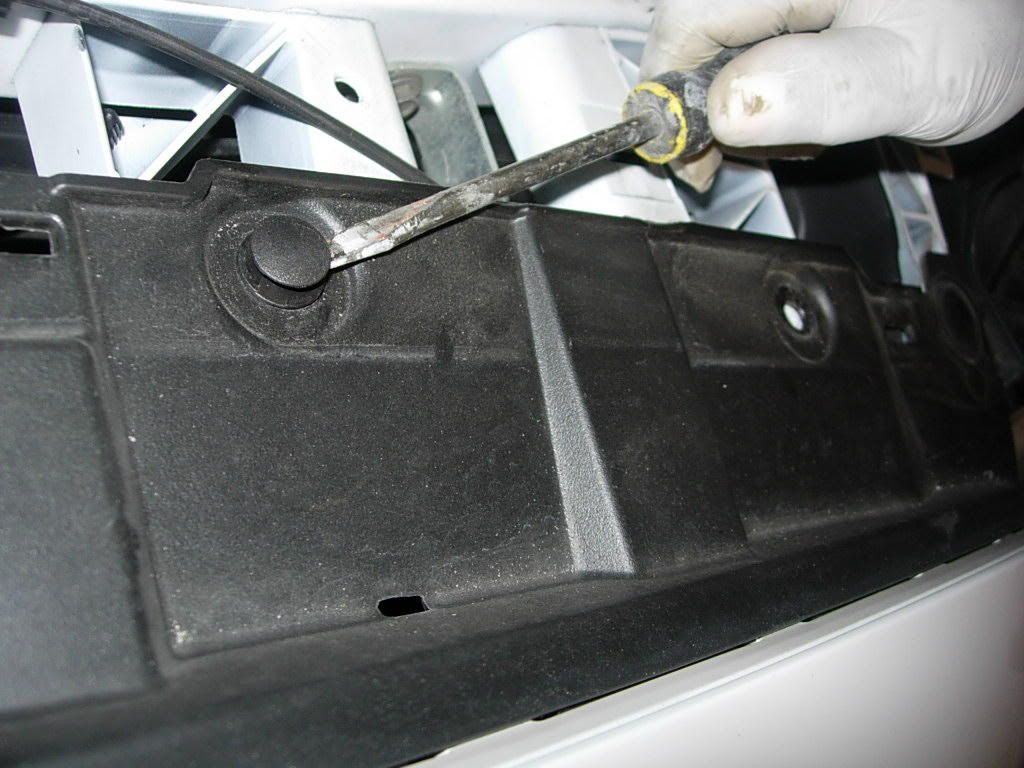
3) Using a flat screw driver, pull up the centers of the 4 plastic retainer rivets that hold the top of the front fascia on. A claw hammer helps to pull out stubborn Plastic rivets.
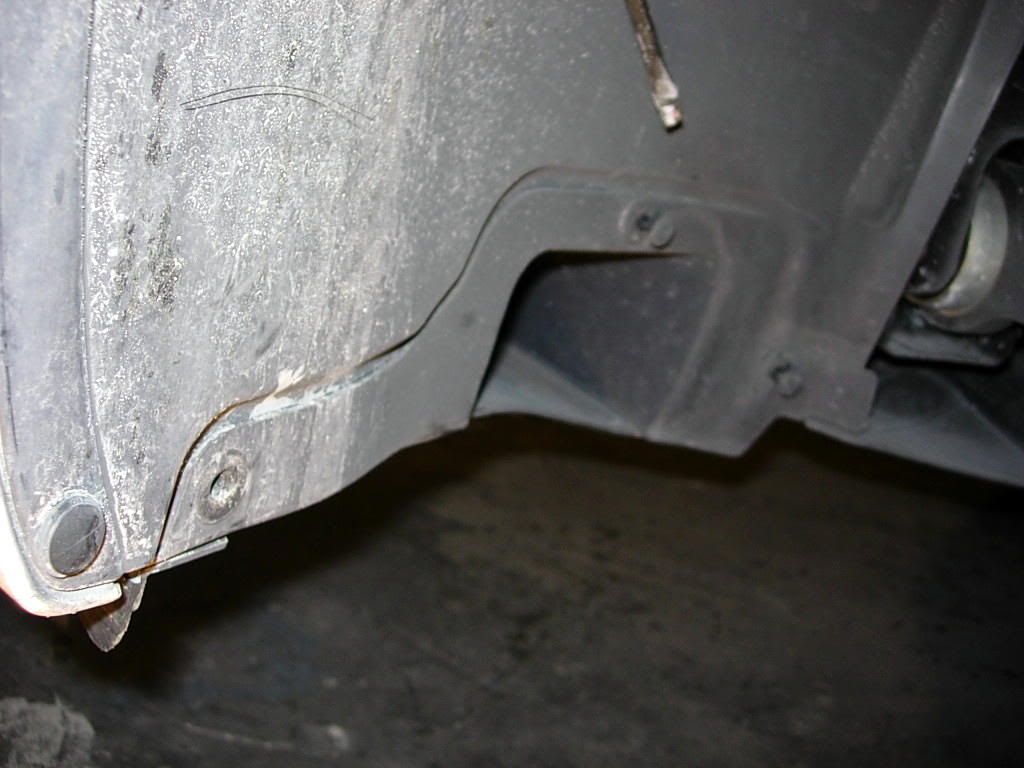
4) On the bottom of the fascia underneath the front of the car, remove the (6) small screws using a 9/32" socket.
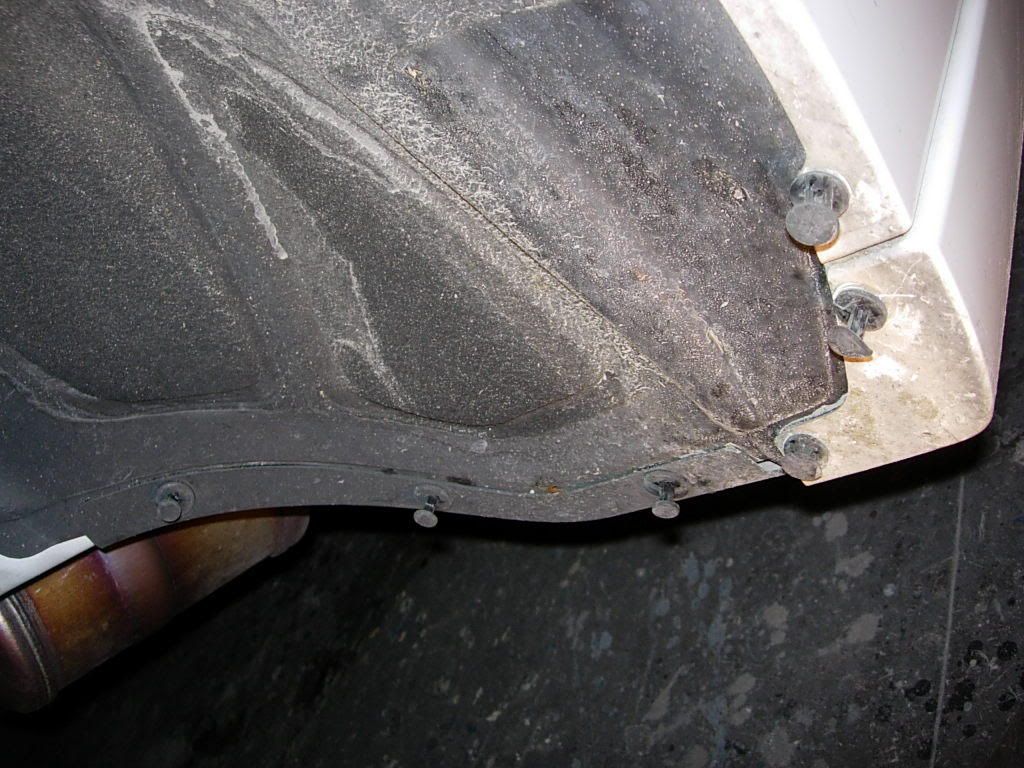
5) Inside wheel well, remove the (3) plastic rivets around the brake cooling duct.
6) Next, remove the (3) plastic rivets holding the fascia to the wheel well liner.
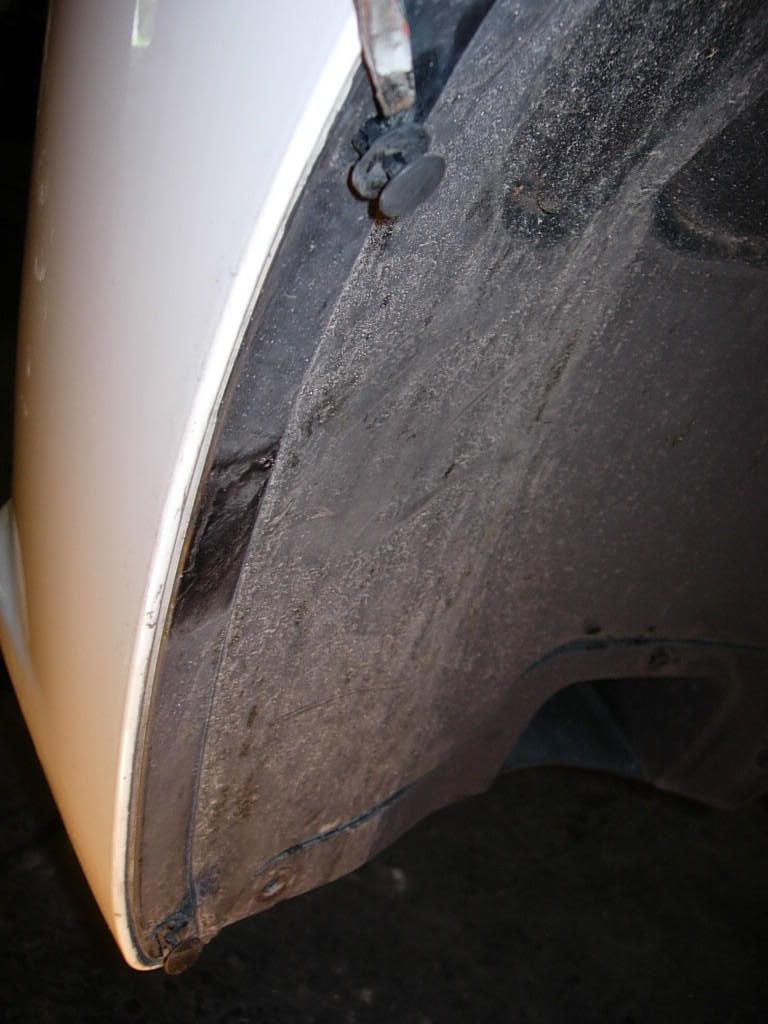
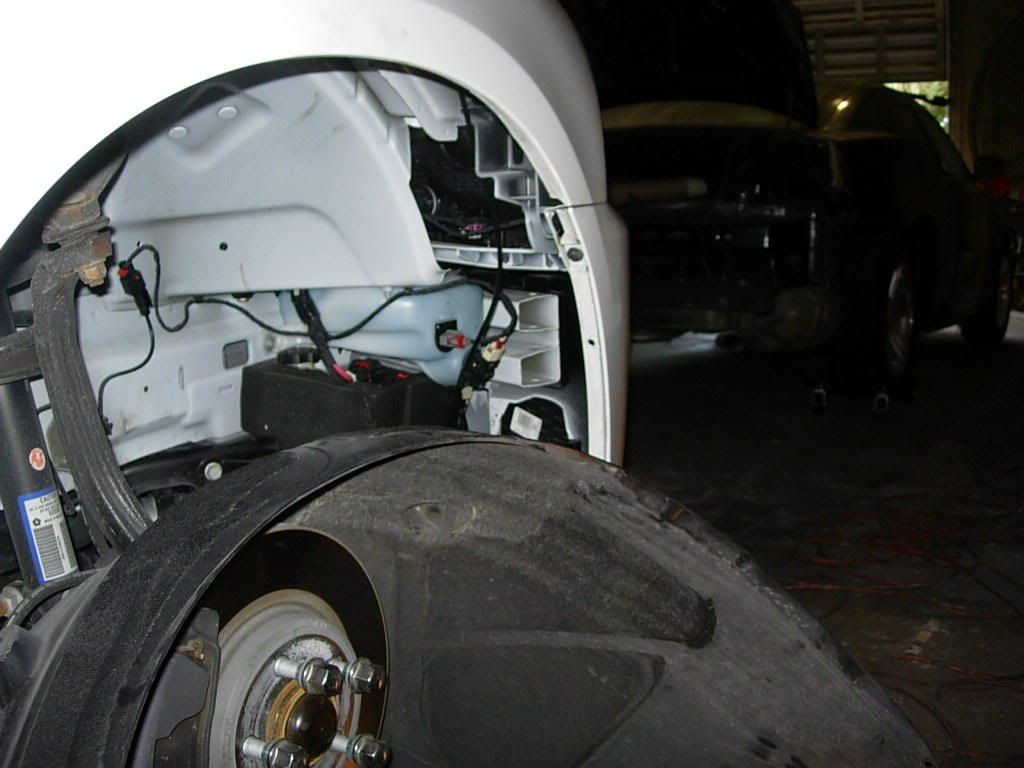
7) Remove the (6) plastic rivets in the back of the liner.
8) remove (4) plastic rivets around the shock tower, and (2) on top in the center

9) Everything should be loose now, so peel out the plastic wheel well liner.
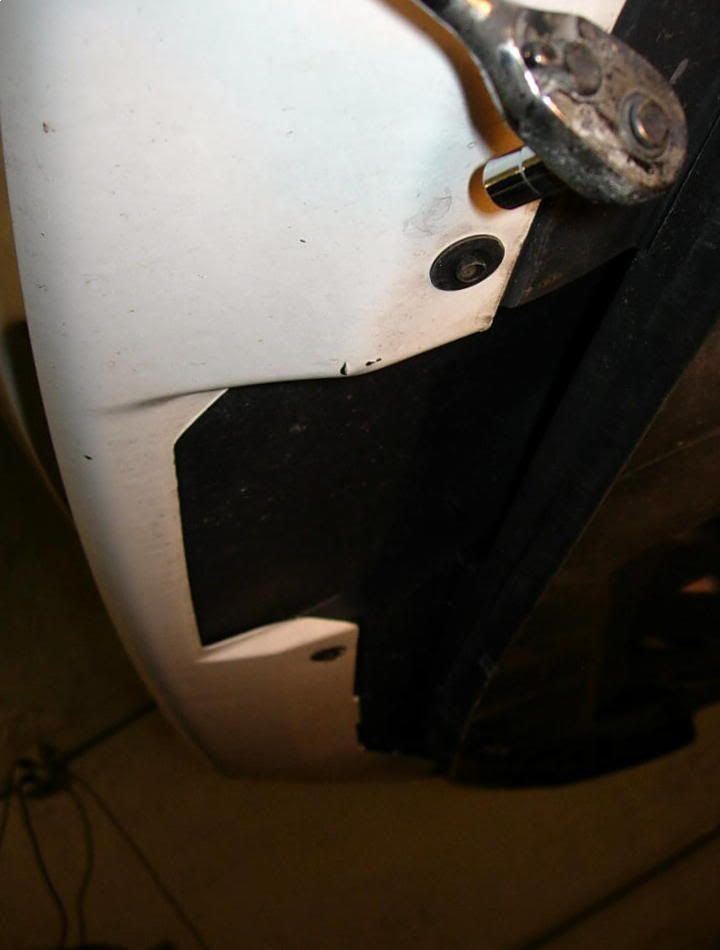
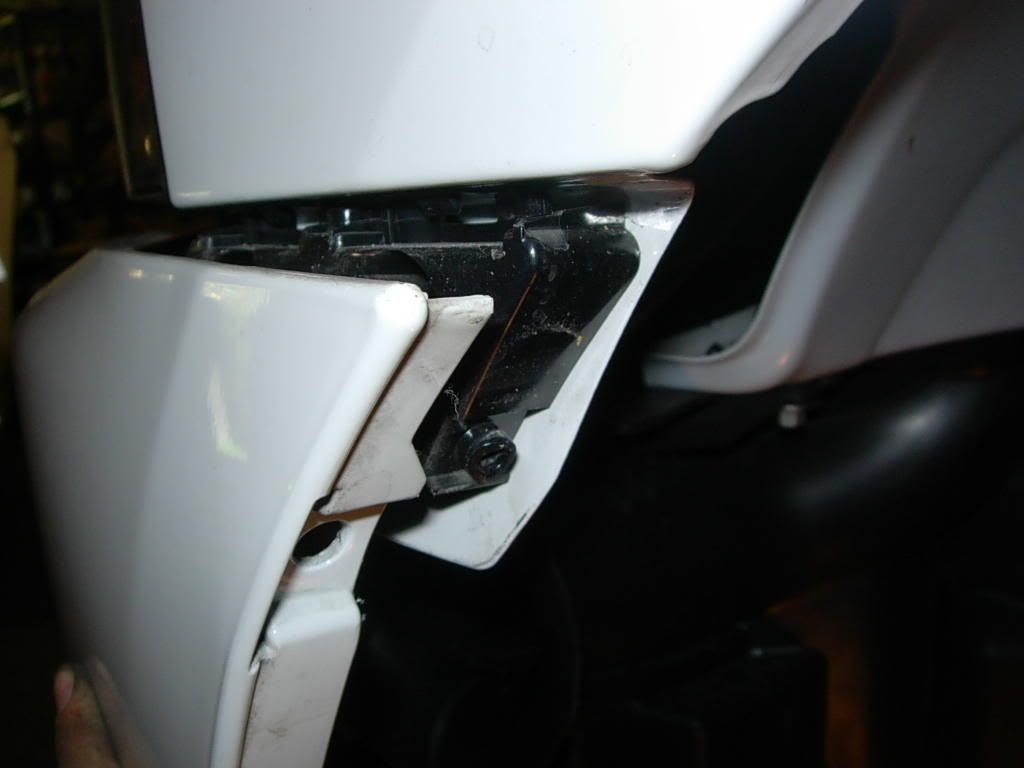
10) Using a 10mm socket, remove the bolt holding the fascia to the fender.

11) Repeat steps 5-10 on other side.
12) My car didn't, but If you have fog lights or other accessories, make sure to un-plug them as you are removing the fascia.
13) Grab the top rear corner of the fascia with both hands and carefully peel the fascia back and away from the car. You will hear clicking sounds as the fascia un-snaps away from the retaining bracket that is bolted to the fender. Do the same to the other side as well.
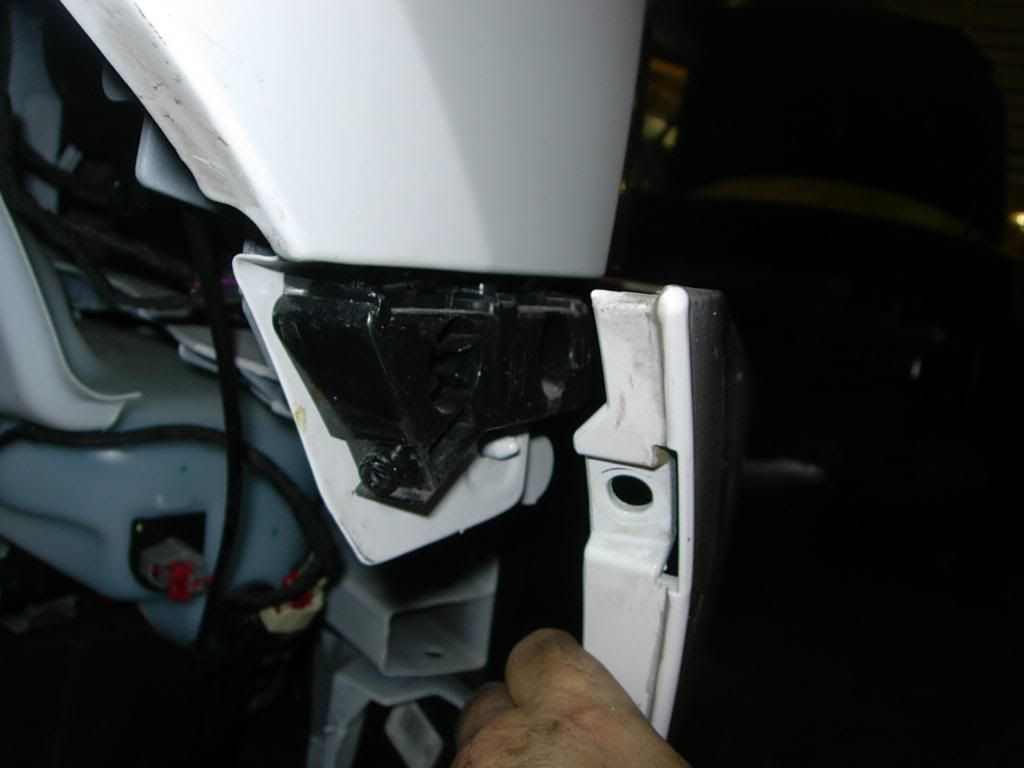
14) To remove nose, carefully pull entire fascia away from car and you done! To remove the headlights, Continue with the next 7 steps.


 Threaded Mode