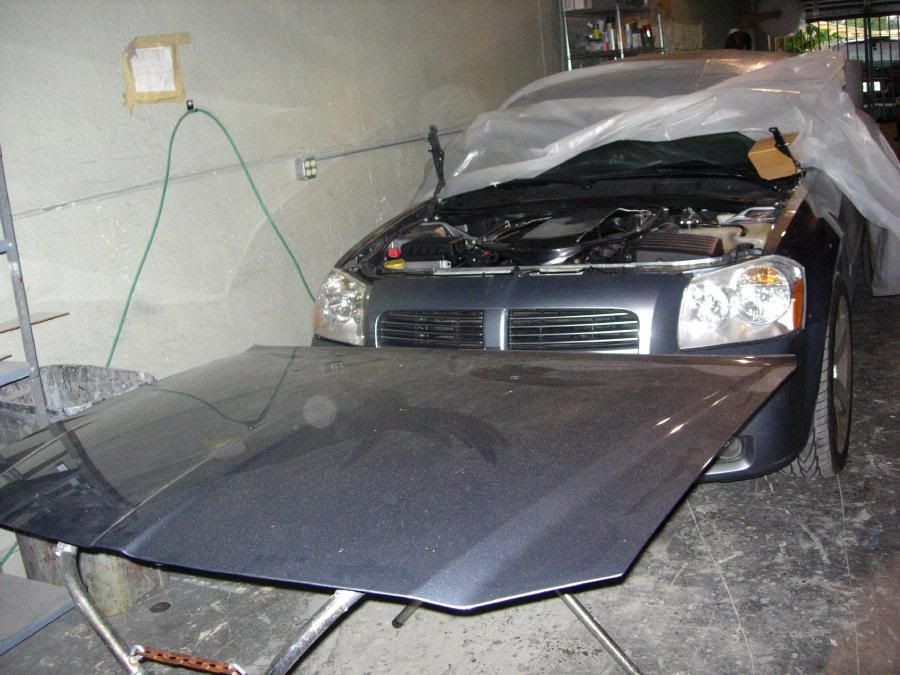
Before I can design the shaker pieces under the hood,I need a shaker hood with a hole in it so I might as well get this out of the way.
People always seem nervous about this step and I always tell them, this is the easiest part of the job and if you are gonna take it to the body shop to have this done, do yourself a favor and cut the hole first yourself to save money as the body shop overcharges for this since it appears difficult...You are now gonna see just how easy it is to do one of these shaker hoods. This is my fifth one. First you take off the hood
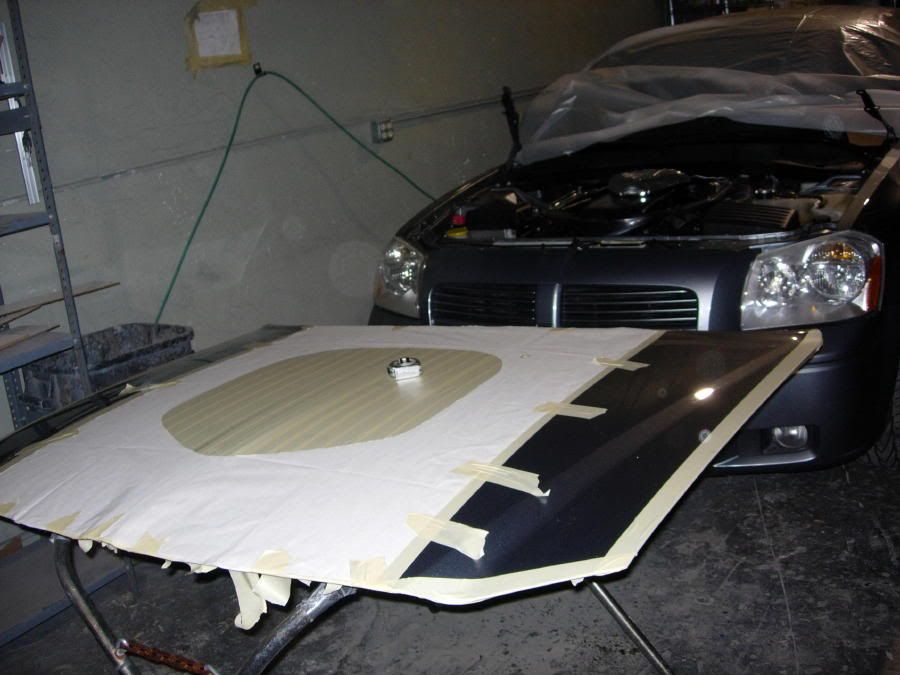
Then I put lots of tape on the hood to protect the paint and centered the pattern on the hood...pretty easy so far.
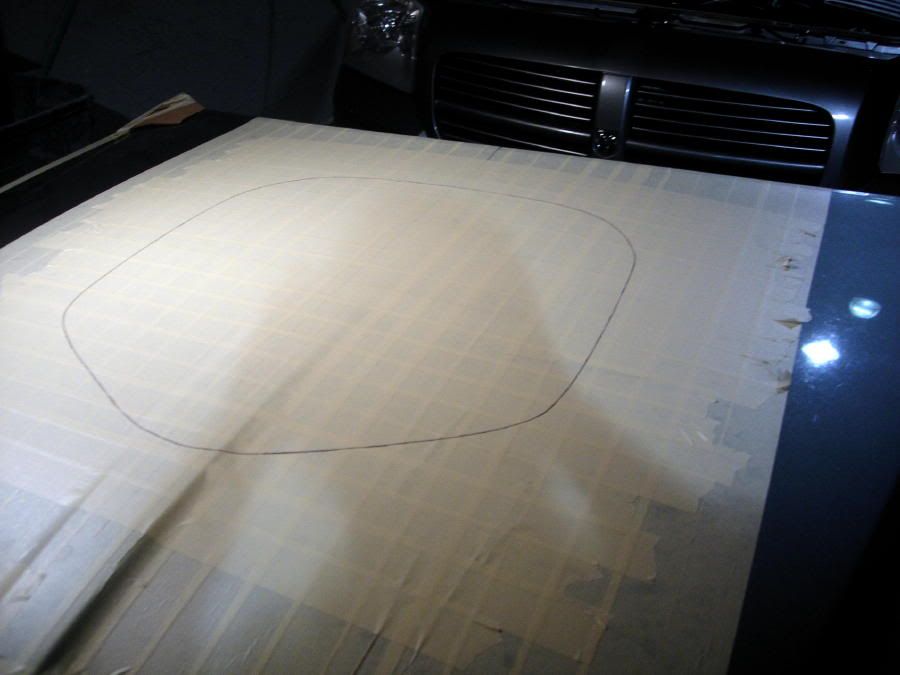
Next step would be to draw a dark line where to cut with a pen and then put another layer of 2" masking tape over the hood and retrace the cut line (you can see the dark line under the tape)
Here goes the first hole! no too hard to do!
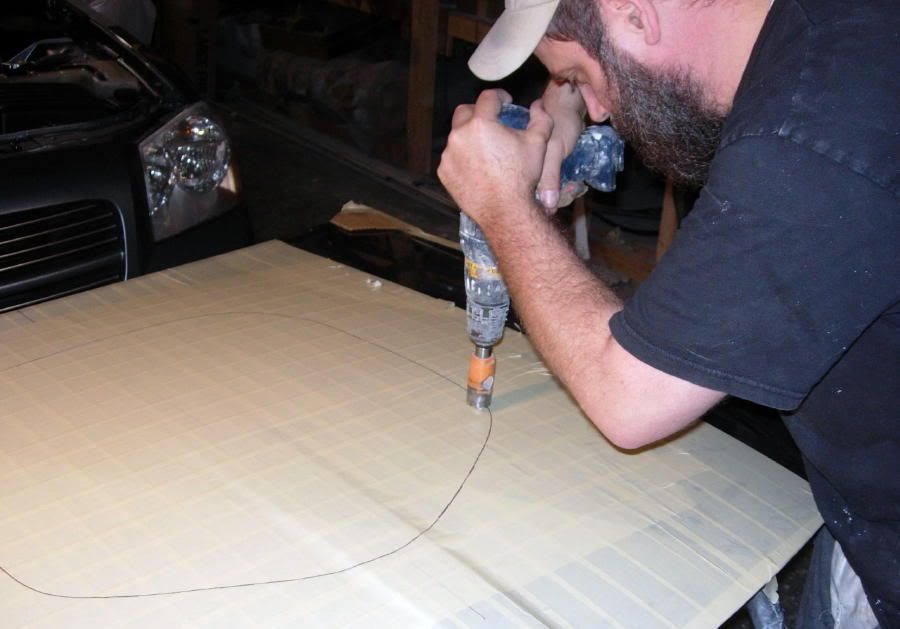
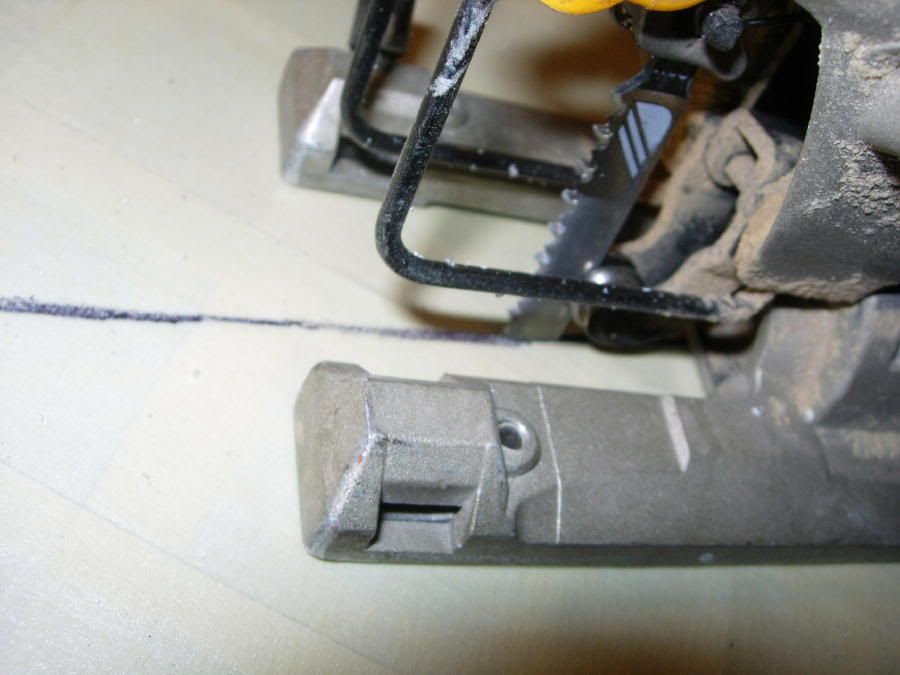
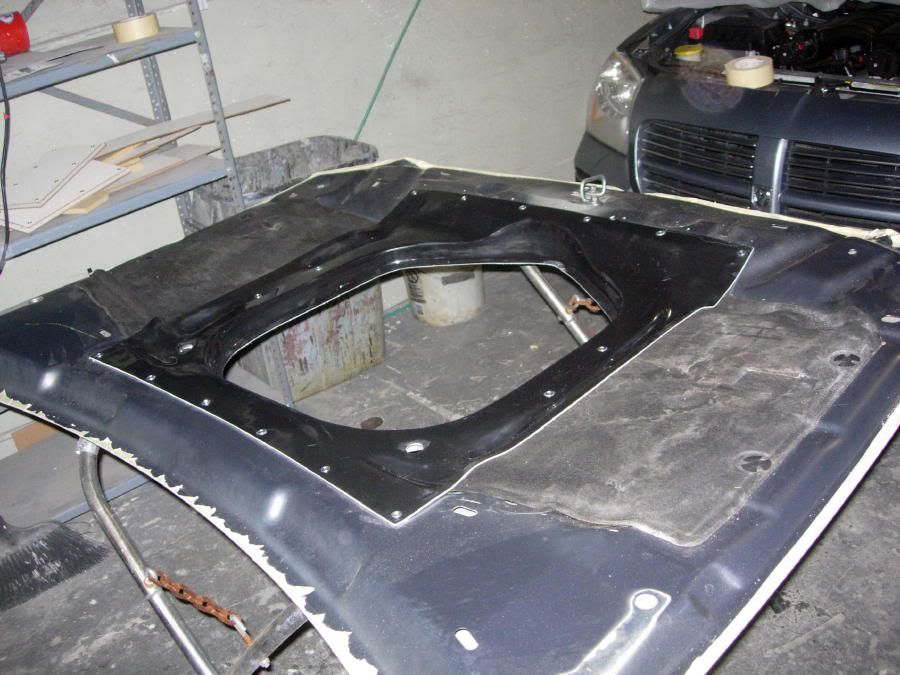
And finally, I just cut out the hole with my cheapy jig saw and a 4 1/2" blade. I'd recommend a longer blade if you can find one, but this one barely was long enough and it worked pretty well. Tilting the blade about 15 degrees like you see here is REAL important, the hole on the bottom of the hood is basically larger than the hole on the top so the hood brace will go on easily.

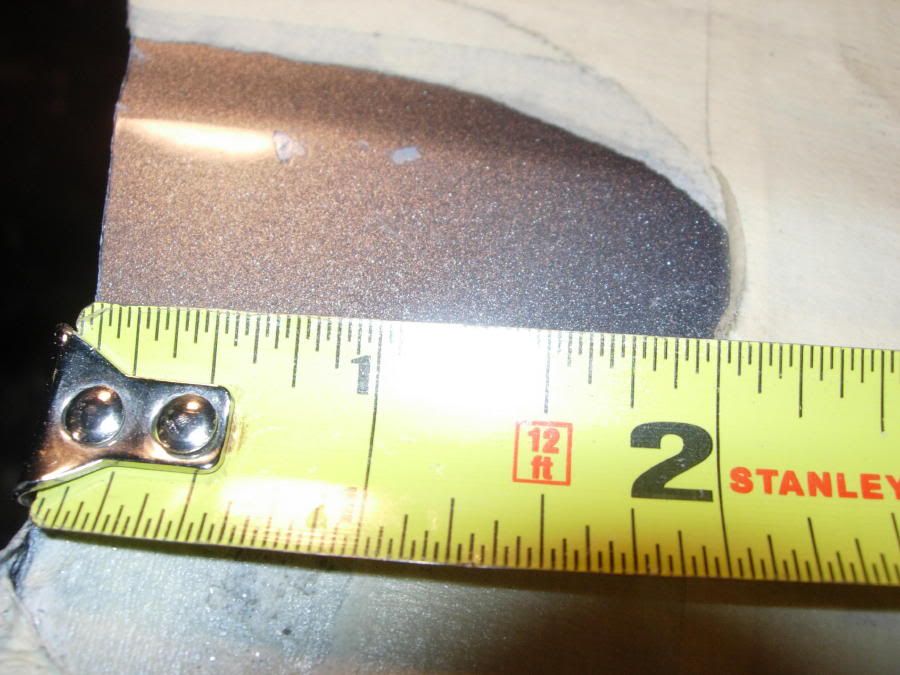
Now, to find out how I did... the only damage to the paint was in the front on the hood ridges that stick up. Good thing that the chips in the paint are well within my 2" zone that will be completely covered up with the trim ring...
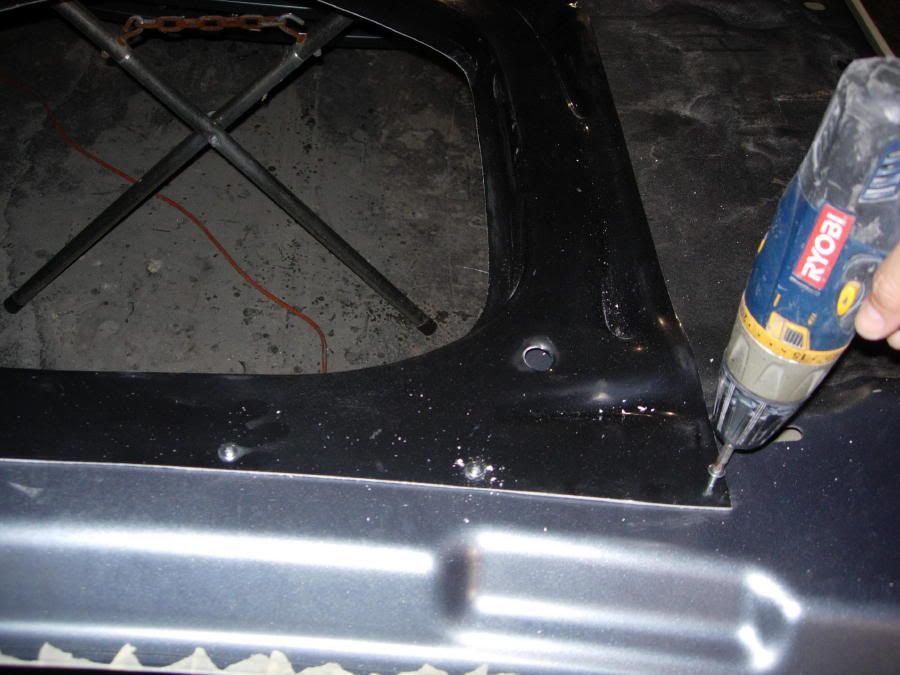
The hood brace is pre grinded and actually went all the way down and just dropped right in with not even any work to clean up the hole. and there was no side to side movement and no question exactly where it goes!!! A few minutes of screwing the 16 self tapping screws in the marked locations and we are just about done!
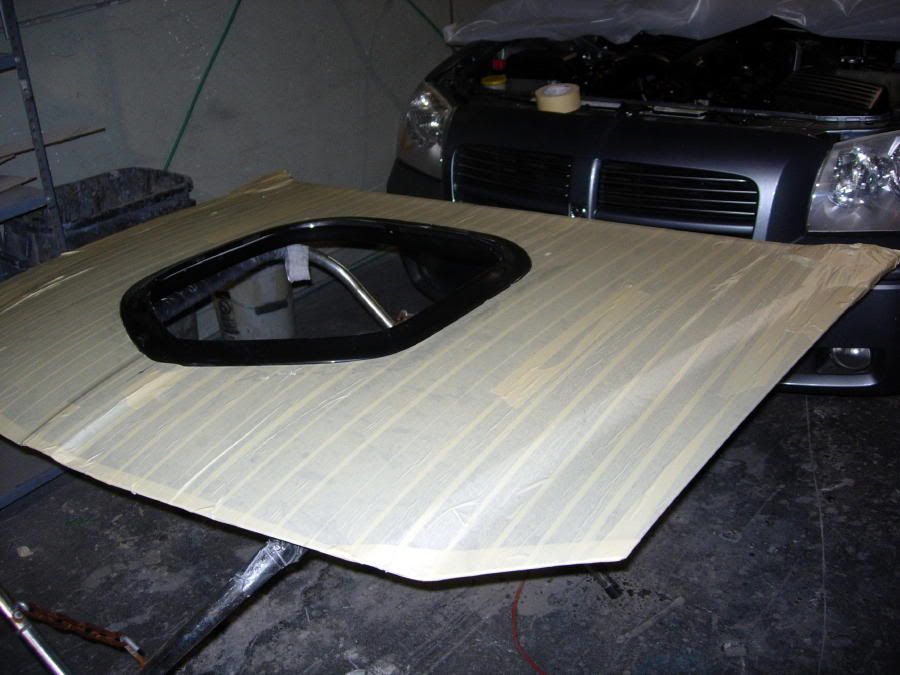
Next I put the insulation back in place and marked it about 1/2" inboard of the hood brace and got my big sissors and chopped out the center.
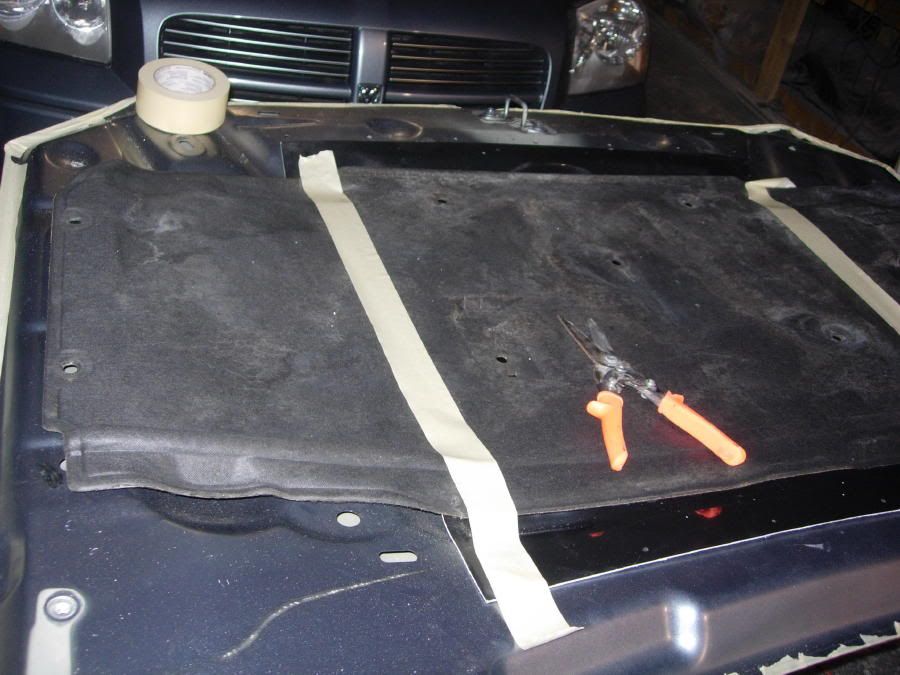
In go the 2 insulation pieces with the factory plastic retainers and we are done on the bottom!!
For now, I just temporarily stuck the trim ring on with double sided tape. Once it gets painted, I will install it properly with 3M tape and some adhesive underneath. It's a perfect fit as unsual and sits right onto the hood brace flange.
Now to get the hood back on!
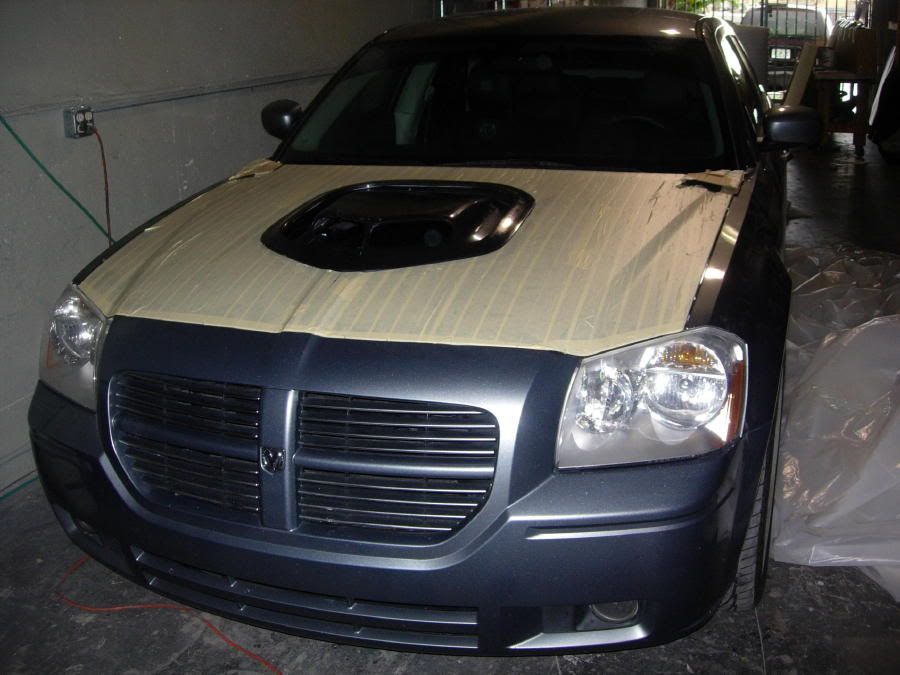
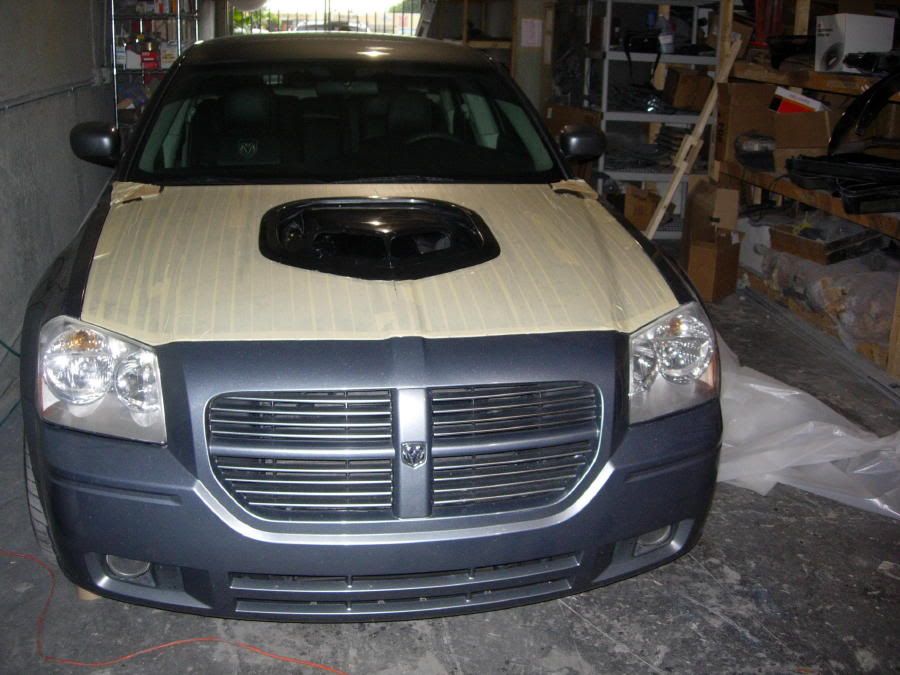
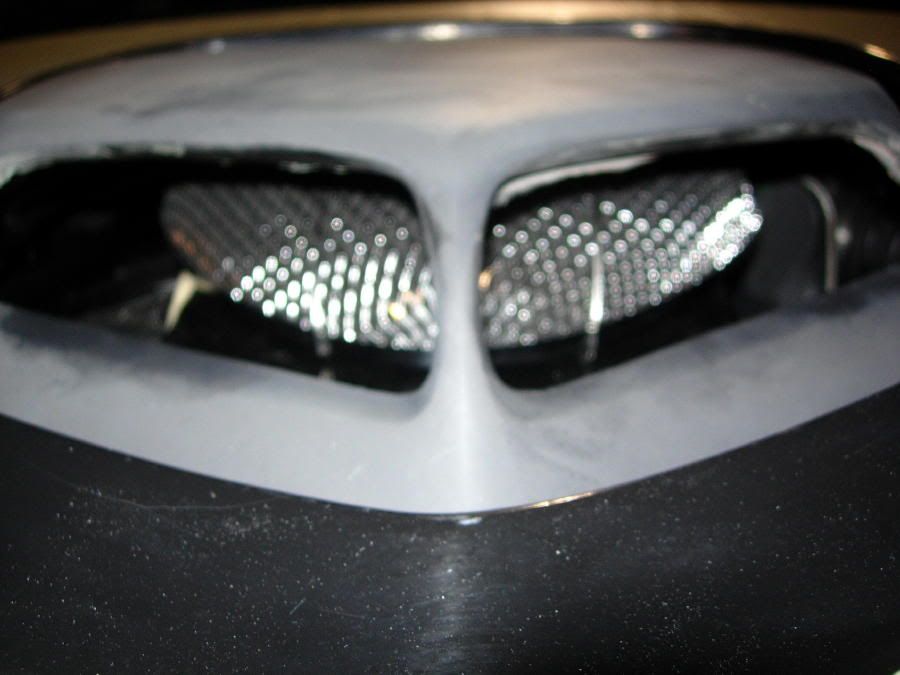
Notice the Holley High performance air filter peeking through the scoops. this is what we will use on the inside so the factory airbox will not be needed.
Stay tuned for some more updates as I fly through this project. Got plenty of projects going on right now so I got to get this one done quick and get his


 Linear Mode


