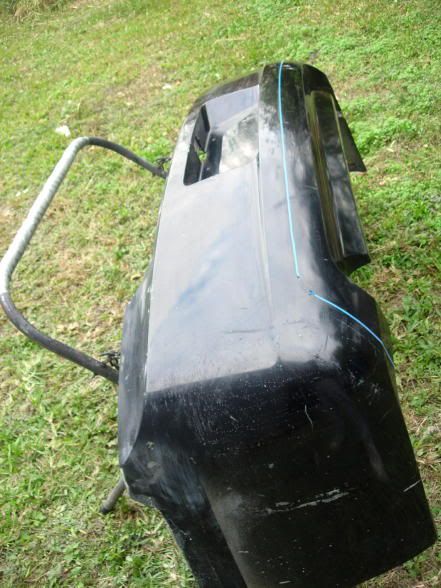
OK all my Charger buddies, here is the installation process of the Charger Diffuser, which is simple as pie! Removal of the rear bumper cover is pretty easy and will be covered in another thread.
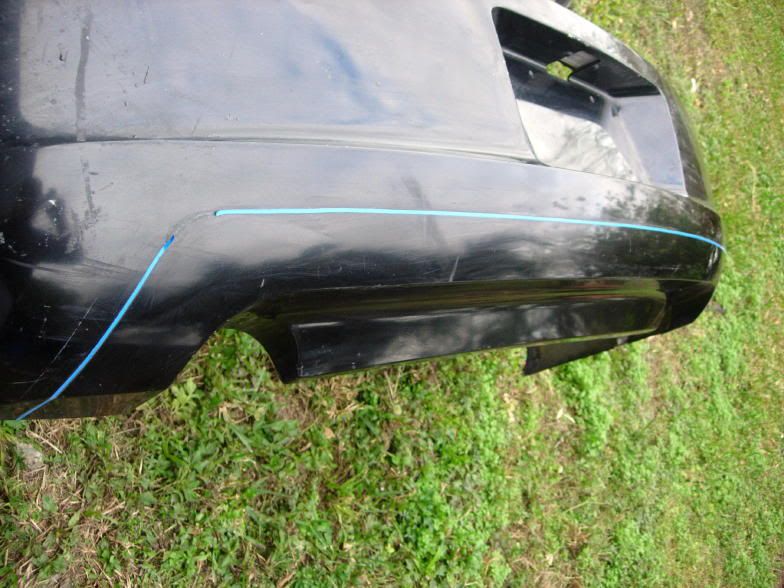
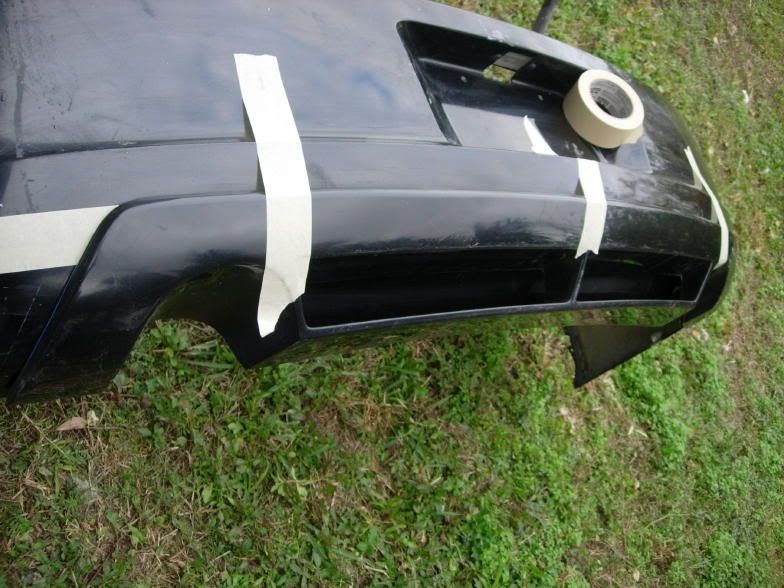
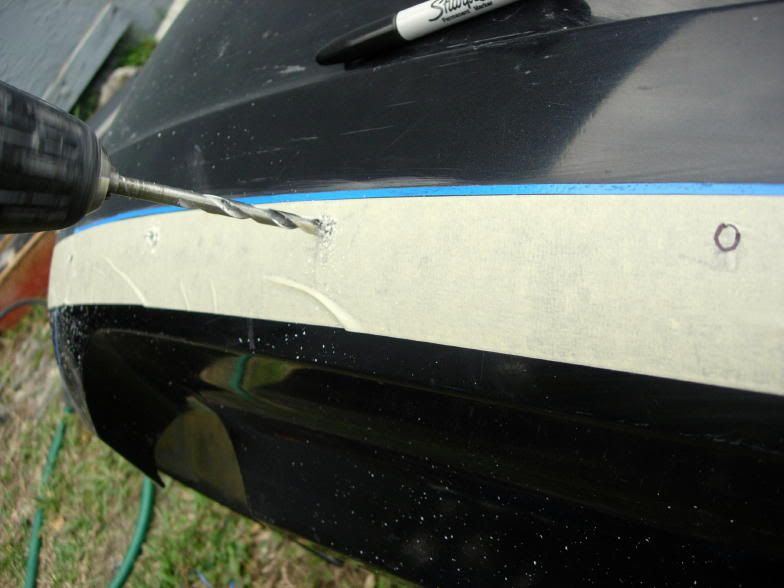
1) First, hang the rear bumper cover (fascia) on something like a saw horse that lets the bumper be in it's natural shape. I have a special stand for such things...The blue line on the bumper shows where the edge of the diffuser goes.
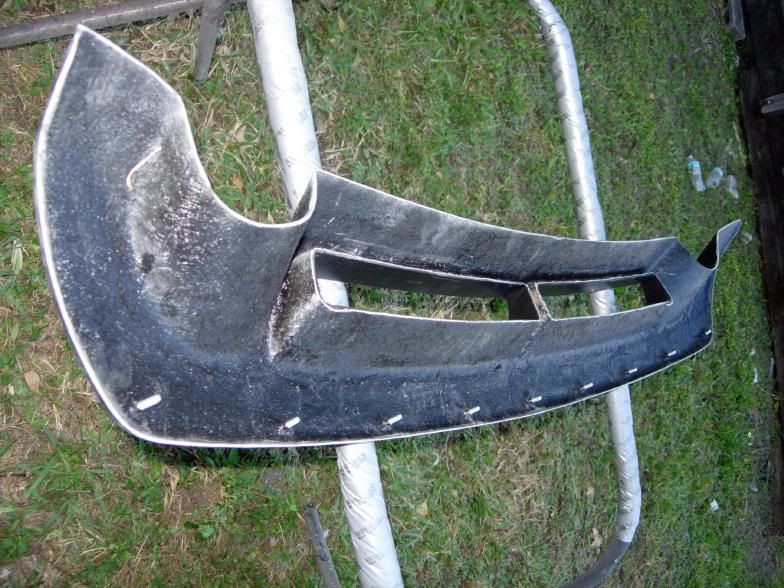
2) Next, hold the diffuser in place and then put a strip of 2" masking tape just inside the edge where the studs go.
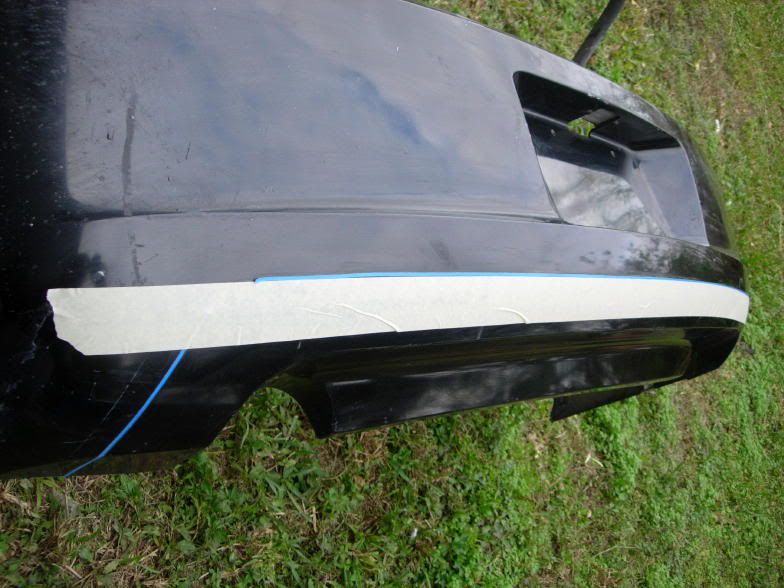
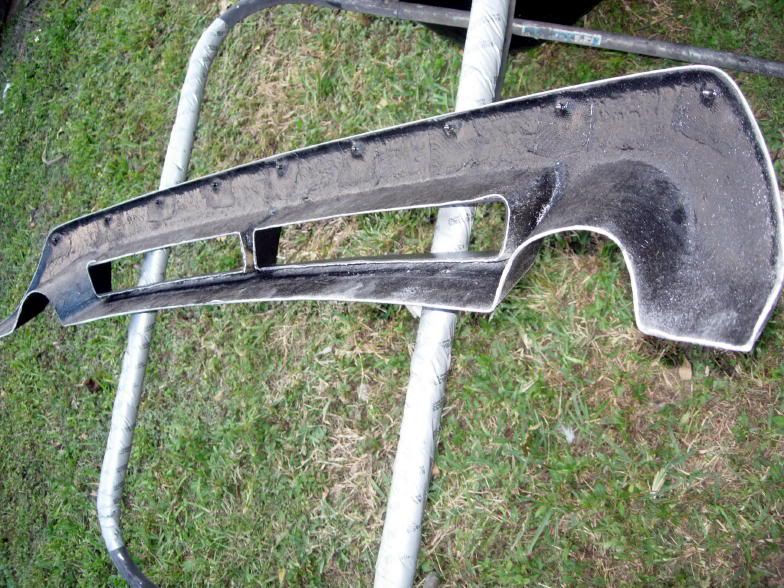
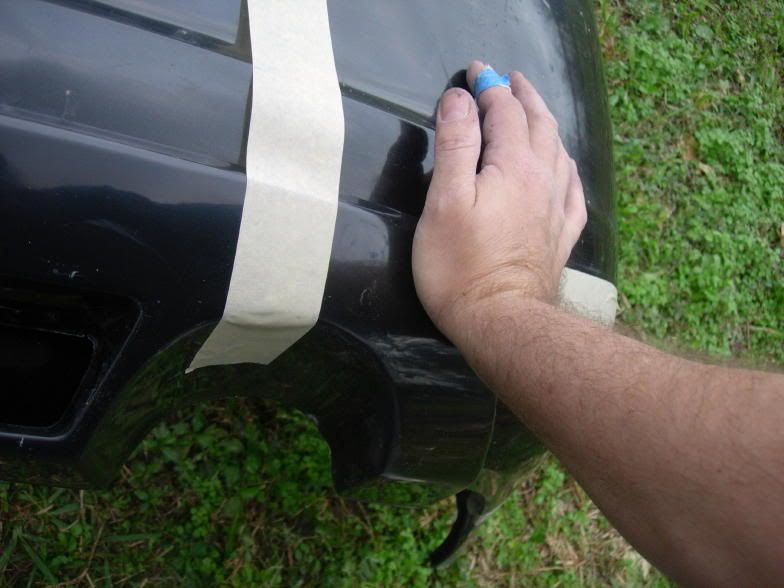
3) Make sure the 9 studs are not screwed into the back of the diffuser. Notice that the stud mounts are protruding just enough to make an imprint on the masking tape.
4) Next, tape the diffuser exactly in the place it belongs. This is an important step, so take your time and make sure it looks good from all angles.
5) Now you have to push hard above every stud to make a good imprint in the tape.
6) Remove the diffuser. If you don't have 9 legible imprints, do it again. Mine were clear the first time.
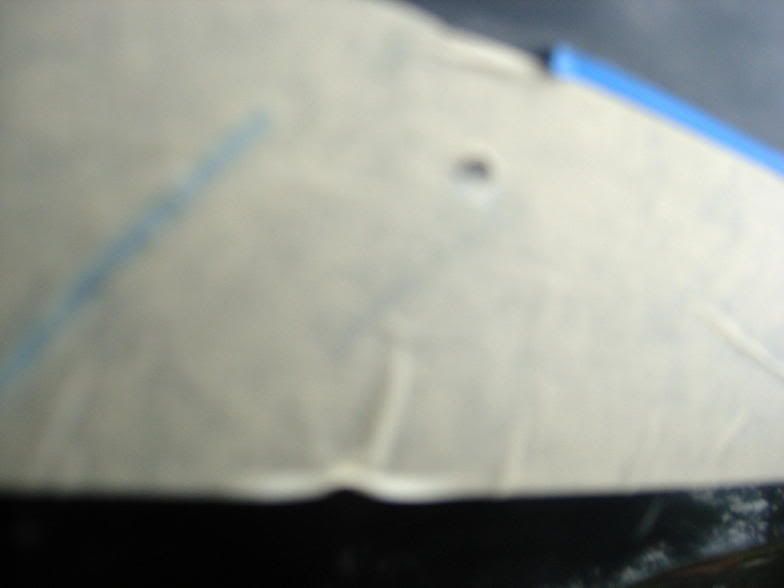
7) Next, I used a sharpie to highlight the spots to drill out.
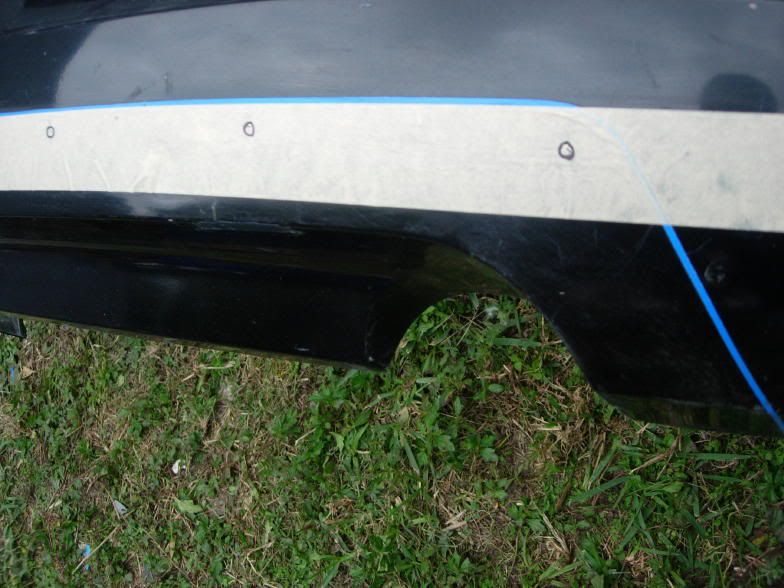
8) With a 5/16" drill and bit, carefully drill the 9 holes.
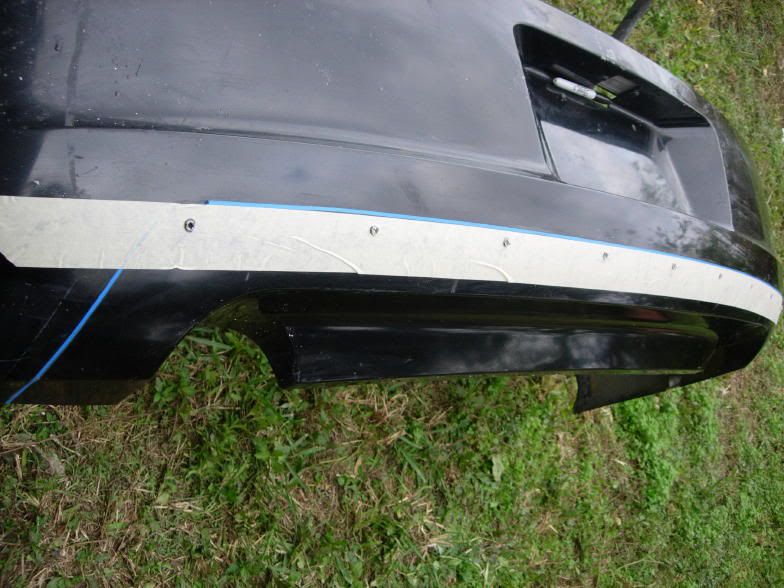
9) Finally, install all 9 of the threaded studs into the mounts. You should use loc-tite on the threads to make sure they don't vibrate loose.


 Threaded Mode