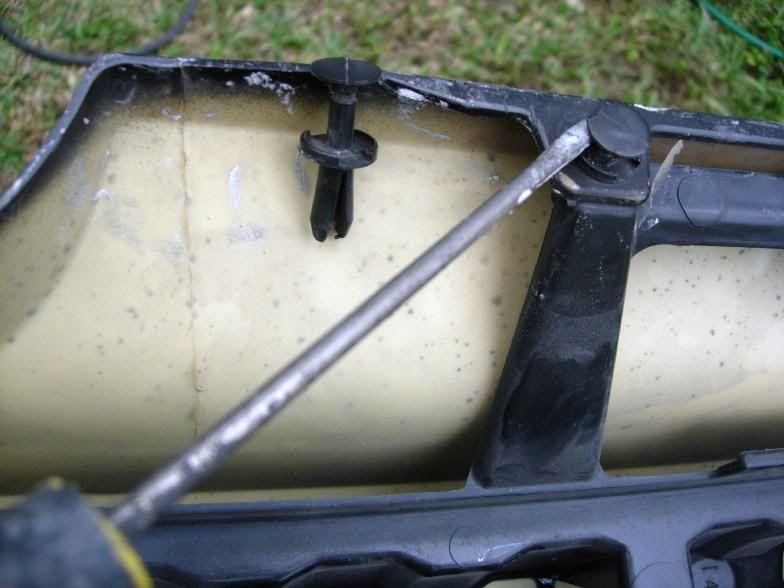
10) Now we are ready to install the diffuser! Turn the bumper over and remove the 6 pop nuts that hole the plastic brace in place. I used a screw driver to get it up, and then a pair of tin snips to grab and pull them out. remove the brace and flip the bumper over again.
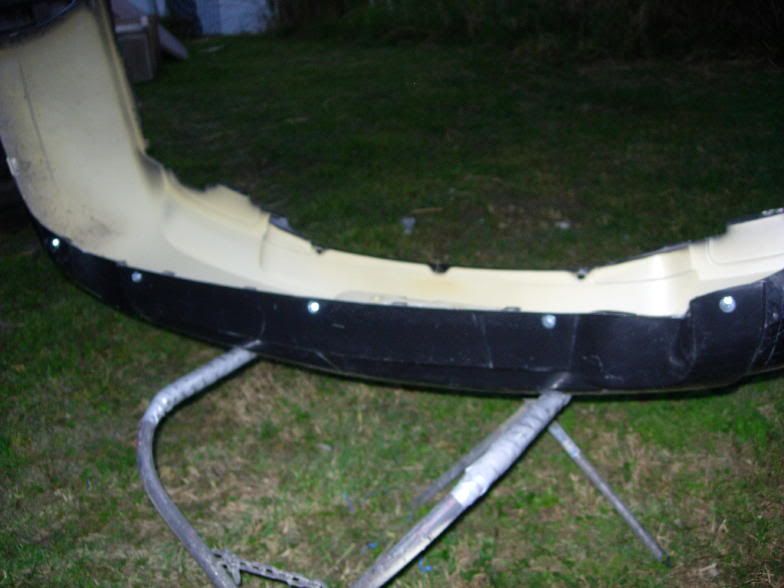
11) You now need to bolt up the 9 mounts. You should know that the 2 end studs have a tendancy to be at a slight angle, so ovaling out the holes with the drill bit may be helpful.
12) Flip the diffuser over to check how it looks. At this point, you may need to remove it and do some slight trimming of the edge if it is hitting and not letting it seat properly, but usually it should be pretty close from the factory and not need much if any trimming.
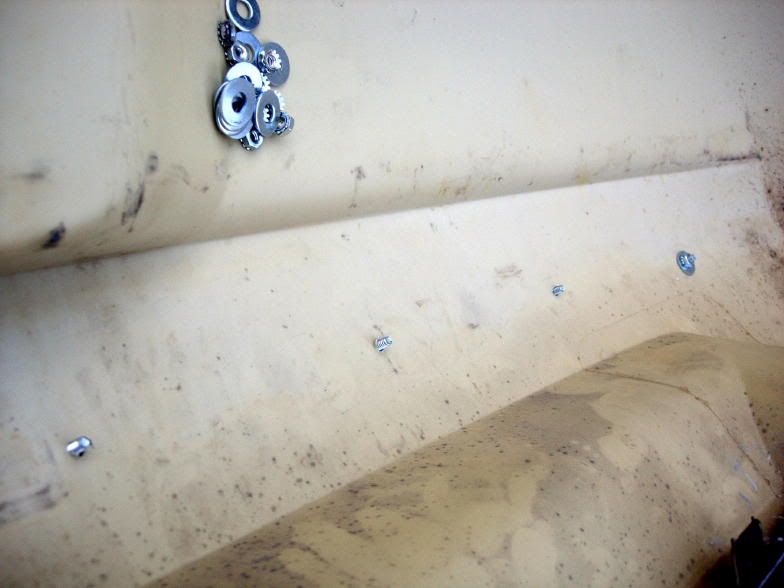
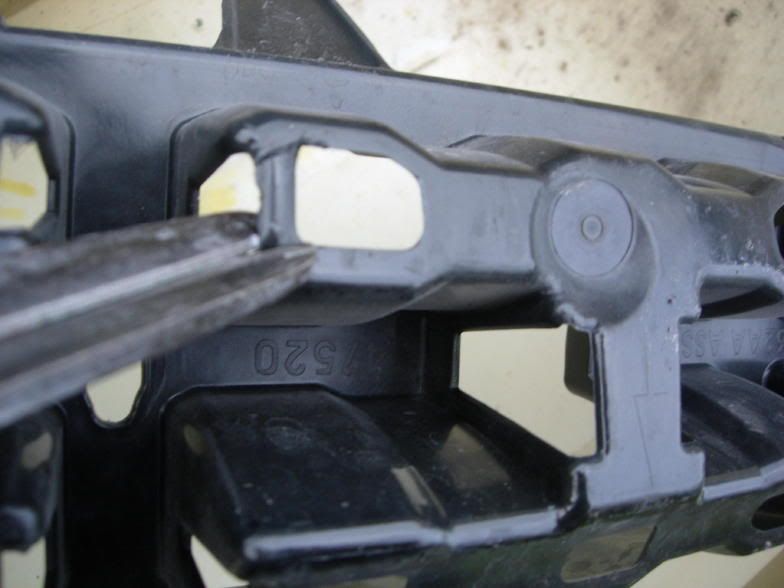
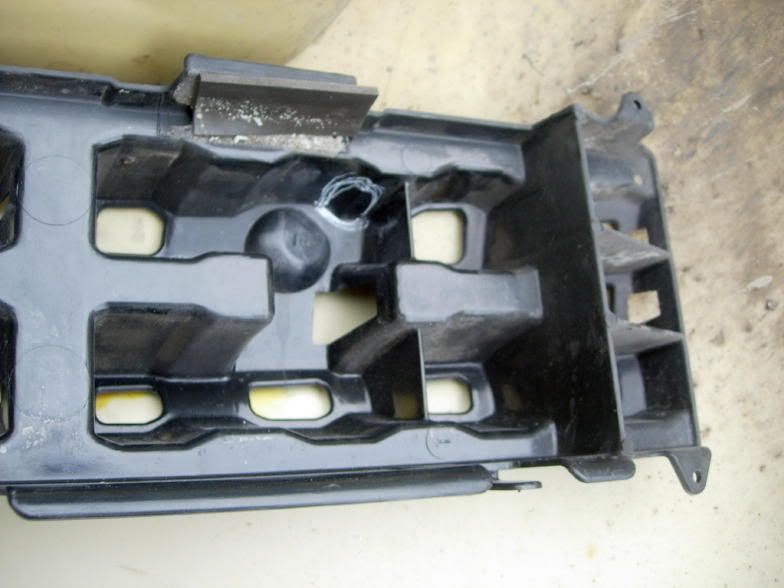
13) The next step is to make sure the brace will go back in with no interfererce. I was real happy to see on mine that only very slight work was needed to clear the nuts but every diffuser will be slightly different so these details may vary slightly from one to another. On mine, the 3rd and 7th nut needed the little bar chopped out, and the 1st and 9th end nuts needed a hole drilled out to clear the nut. Notice the bar I chopped out on both sides with tin snips.
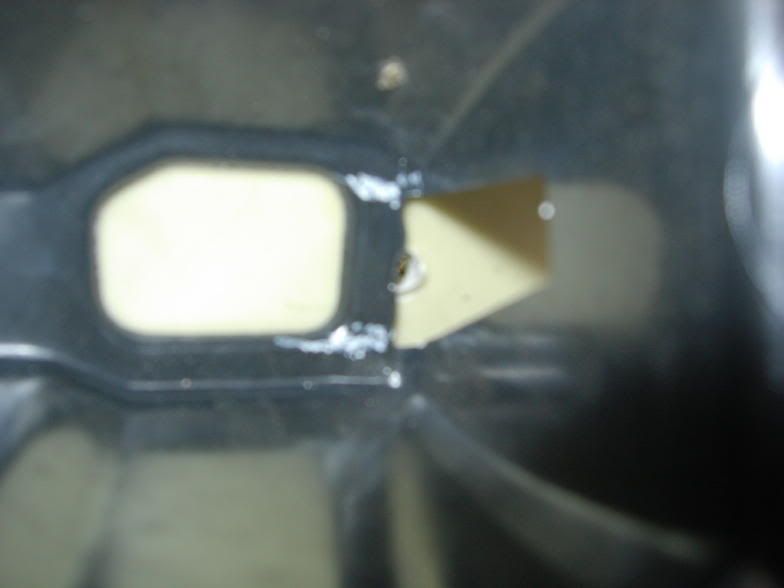
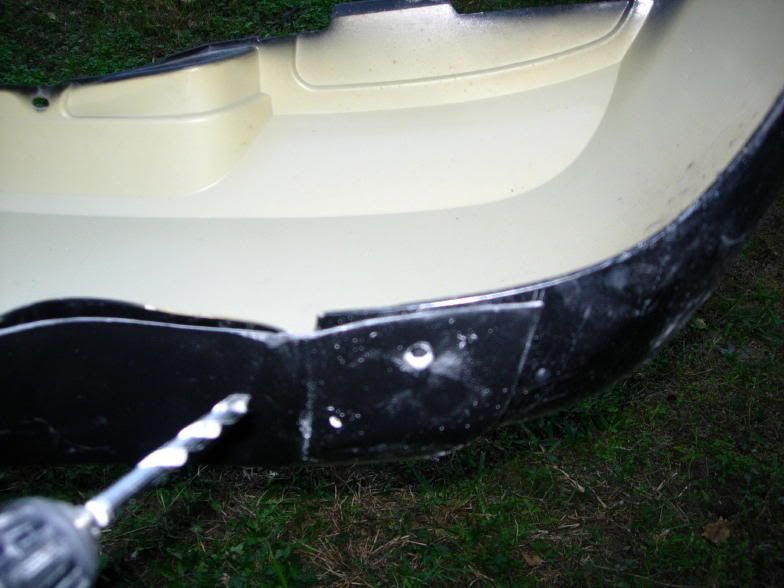
14) For the end nuts, I marked the circle to cut out with a white grease pencil.
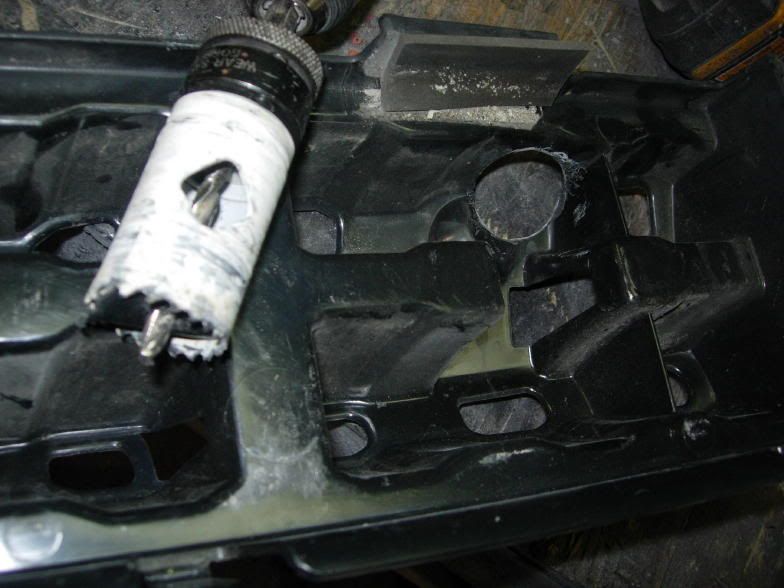
15) The next 2 pictures show the process of opening up the clearance holes. If you don't have a hole saw, just drill lots of holes close together and then cut it out with tin snips.
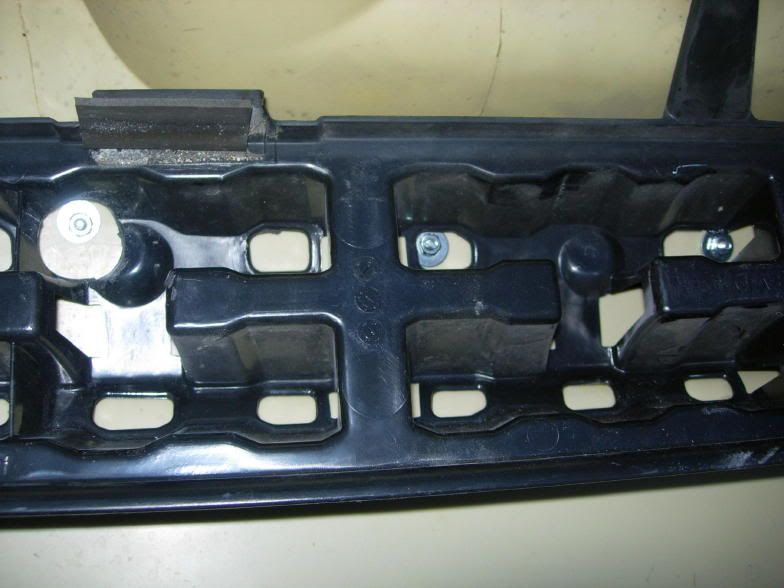
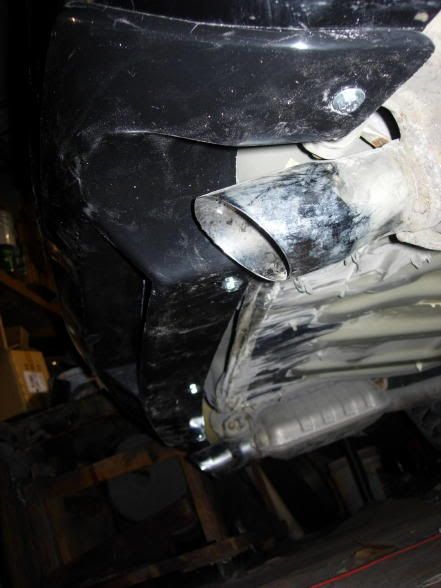
16) Now we will install the last 5 nuts and bolts. You should see the 5 spots to drill scratched into the bottom of the part. One in the middle and 2 beside each exhaust port. Use a 5/16" drill bit . Make sure the diffuser is all the way in the correct position before drilling. Install and tighten each bolt before goint on to the next one.
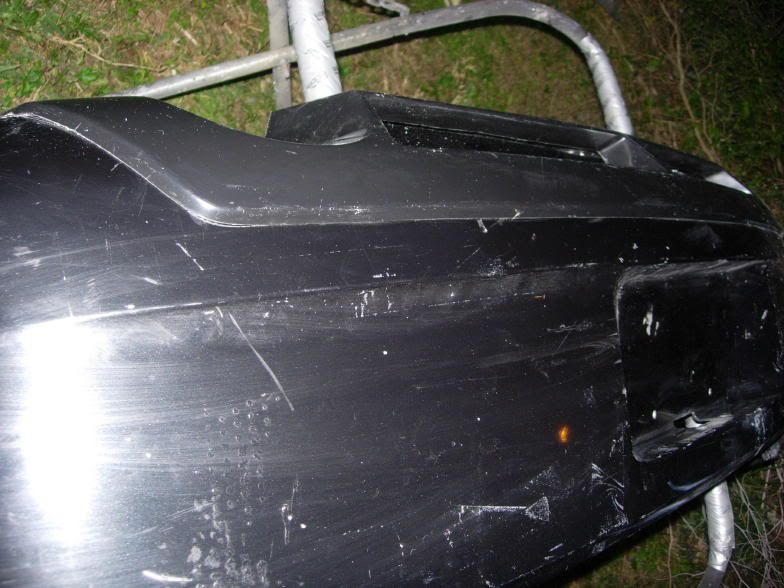
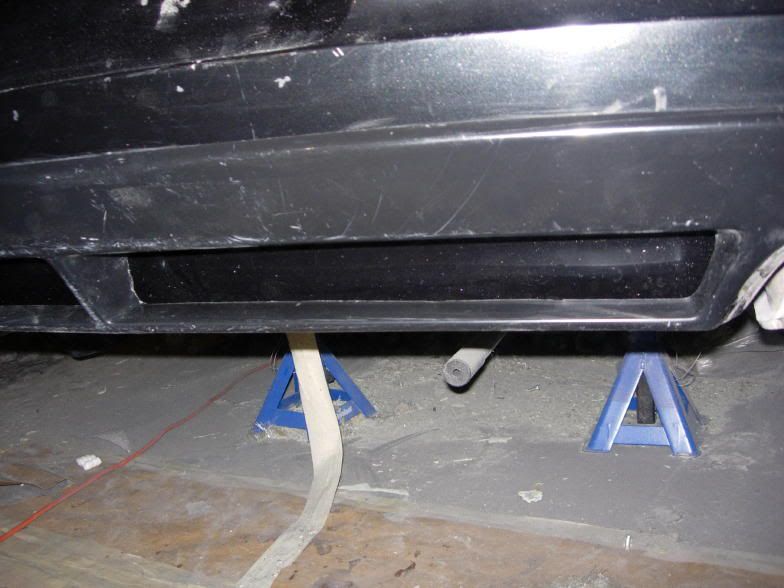
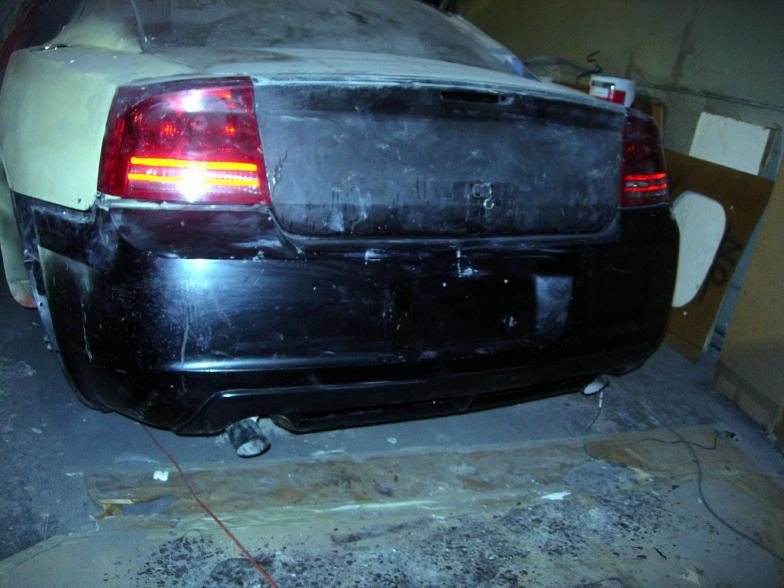
17) Re-install the plastic brace with the pop nuts and hang the bumper back on your car. It should look something like this:
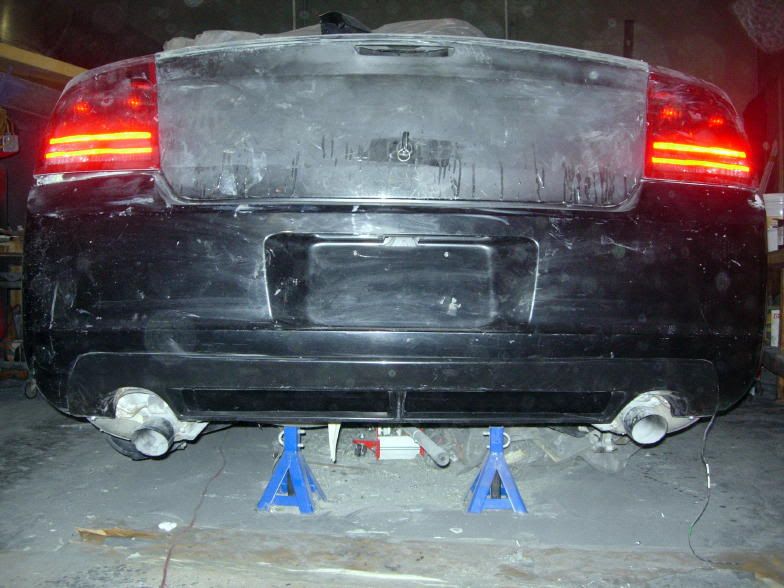
18) The next step will be to take it all off and get it painted, and install the mesh with some epoxy repair putty. Also, there is a foam rubber black gasket the you can install when you are ready for the final installation. More pics will be coming soon when I get them done, so stay tuned !!